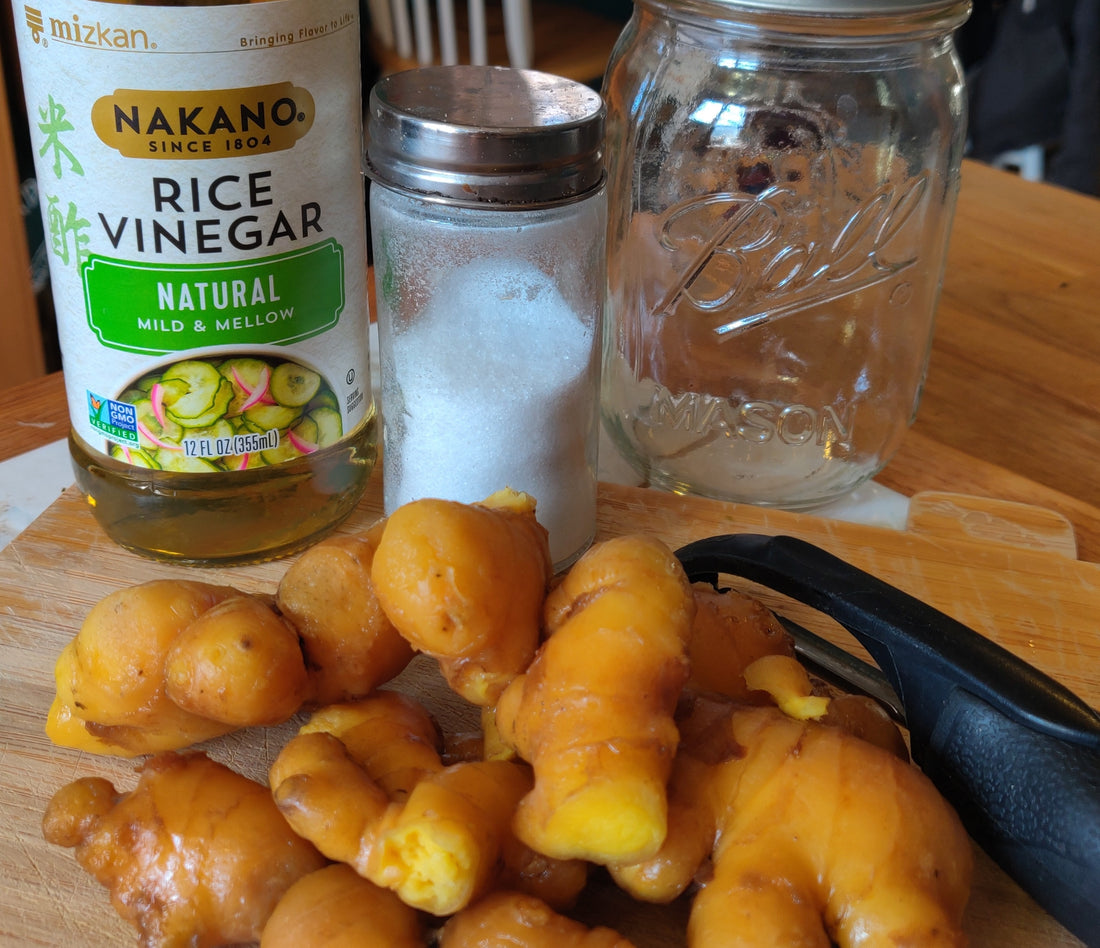
One of my favorite parts of sushi is the pickled ginger served alongside it. I love the combination of sweet, salty, and tangy and eat it on far more than just sushi. It's a great addition to salads, sandwiches, or anything you want to give some extra flair. So when I found myself with lots of extra ginger last winter, I figured it was time to try making some myself. Turns out it was far easier and faster than I'd expected, and I'm happy to have one more thing I can now avoid buying from the grocery store in a plastic jar!
Here's the recipe, with the inspriation linked below:

Ingredients:
- 7 oz. fresh ginger
- 2 tsp. sea salt
- boiling water
- 1/4 cup sugar
- 1/2 cup rice wine vinegar
- 1/4 cup water
Instructions:
- Steralize an 8 oz. glass jar by submerging it in boiling water for 10 minutes. Remove and set aside to cool.
- Peel the ginger using a knife, spoon, or vegetable peeler.
- Use a vegetable peeler or mandolin on the thinnest setting to cut very thin slices of ginger.
- Put the ginger in a bowl, sprinkle it with sea salt, stir, and let sit for 5 minutes.
- Pour boiling water on the ginger (just enough to cover it), and let sit for 2 more minutes.
- Drain the water and squeeze out excess liquid. Set it aside on a towel to drain further.
- Prepare the pickling liquid by combining water, rice wine vinegar, and sugar in a non-reactive sauacepan.
- Turn the heat to high. As it reaches medium heat, stir to dissolve the sugar. Continue to heat to boiling, and let boil for 30 seconds.
- Put the ginger in the steralized jar and pour pickling liquid on top.
- Close the jar and allow to cool at room temperature for 30 minutes before placing it in the fridge.
- You can enjoy the ginger as soon as it's cooled, but the flavors will continue to develop and may be better after 24 hours
(Recipe inspiration: https://itsnotcomplicatedrecipes.com/easy-pickled-ginger-gari/)
-Justine, Full Circle Sustainability